Pages

Friday, May 13, 2011

Gluten-free, Soy-free, Corn-free Pork Luganega Sausage

I am not a big griller. Usually my dad does the grilling, and my mom and I make the fixings. Normally, we stick with chicken, steak, or burgers. However, every now and then we like bbq'n hot dogs or sausage. Unfortunately when you have multiple allergies, most sausages are a no-no to you. If you find one that is free of gluten, corn, or soy, then you know it has pepper, tomatoes, or garlic. So instead of forgoing the weenie roast this year, I decided to try my hand at making my own.

I already had the grinder attachment for my Kitchenaid stand mixer so all i needed was the sausage stuffer attachment. It looks like this:


It took me about an hour to make 3 lbs of pork sausage. Pretty reasonable in my opinion.

Normally people use natural casing, which is essentially pig intestine. Yeah.
I'm not gutsy enough to dive into the deep end of the pool on my first try. So I started with a cellulose casing. It isn't edible, but it also doesn't smell like . . . never mind.
Moving on.

Making sausage is much easier then you think.
Prepare your ingredients.
Freeze your meat.
Grind your meat.
Stuff your sausage.
Cook.
Enjoy.

Simple as that. Okay, I know it doesn't look simple, but it is. Trust me.

This sausage is the perfect pairing for use in risottos. It also tastes great in tomato sauce.


Pork Luganega (Italian Spring Sausage)

4 feet Casing (your choice)
1 3/4 lbs Lean Pork Butt, stripped from the bone
1/2 lb Pork Fat
1 1/2 tsp Kosher Salt
1 tsp grated Lemon Zest
1 tsp grated Orange Zest
1/4 tsp freshly grated Nutmeg
1/4 C. White wine
1/2 C. freshly grated Parmesan Cheese
Optional, if not allergic:
1 tsp freshly ground Black Pepper
1 clove Garlic

  1. Cube the meat and fat into 1-inch cubes. Put them in the freezer for about half and hour.
  2. Grind the meat and fat with the fine disk of whatever grinder your using.
  3. While the meat is freezing combine in a large bowl the salt, lemon zest, orange zest, nutmeg, wine, and if adding the pepper and garlic.
  4. Add the ground meat and Parmesan, mix well.
  5. Stuff the casing, twist off into 8 inch links. Separate the links with scissors.
  6. Put the links on a platter in the fridge, and let them dry uncovered for 2 to 3 hours.
  7. Use within 3 days, or freeze.
I usually freeze them after the drying phase, and then defrost them as I need them. Make sure to cook your meat  until it reaches and internal temperature of 160 F.

Friday, May 06, 2011

"Cheezy" Banana Squash Fries


The Tell-tale heart. JK.


Good morning cyber-land!

I know it has been forever since I've given you all a recipe, but don't worry I'll make up for it in the next coming weeks. I have been cooking up a storm. Just not posting up a storm.

I don't know about you, but I am always trying to put more vegetables in my diet. Especially bright, colorful super food vegetables.
Banana Squash

Have you ever eaten a banana squash? Yeah, neither had I till a couple of weeks ago. My local produce vendor was offering french fry cut banana squash. Instead of frying, I wanted to bake it to crispiness. I also wanted it to taste slightly cheesy without the added calories of cheese. Nutritional yeast worked perfectly!
This dish is a great source of vitamins and minerals. Banana squash is high in beta-carotene, Vitamin C, manganese, and potassium. The nutritional yeast is chockful of the B vitamins. Grape seed oil is a natural anti-inflammatory, is high in essential fatty acids, low in saturated fat, cholesterol free, and is high in phenols which protect our cells against free radicals. Muy Buono if you ask me!


Prep.


"Cheezy" Banana Squash Fries

1 lb French Fry cut Banana Squash
2 Tbs Grape seed Oil
3 Tbs Nutritional Yeast
1 tsp Salt
Fresh ground black pepper

1. Preheat oven to 400 degrees.
2. Line a baking sheet with parchment paper.
3. Toss the fries with the oil, salt, and yeast. Spread out in an even layer and bake for 15 minutes.
4. Flip, bake for 15 more minutes.
5. Flip again, bake for 10 more minutes.
6. Remove from oven when golden brown and partially dried out.

Soooo good.  And good for you!


Thursday, April 07, 2011

3 Favorite Foods

Hey everyone!

Instead of sharing a recipe with you all, I thought I would share a few of my favorite products with everyone.

How does that sound? Good.

1. I love Tropical Gourmet Cassava Chips!!!!


These chips are crunchy and slightly salty. The ingredients are Cassava (which is a fancy word for tapioca), Canola and/or Palm Kernel Oil, and salt. They are also a great alternative to potato or tortilla chips.

2. Sensible Foods Organic Crunch Dried Snacks


These things taste like fruit chips!!!! They are bleeping awesome. My favorite is the 100% Organic Cherry Berry. It is gluten free, vegan, GMO free, and sugar free. I have tried other freeze dried fruits and these were by far the crunchiest I have ever had.


3. Trader Joe's Sunflower Seed Butter


This stuff is sooooo sweet it doesn't even need any honey or jam. Now I am not one of those people who makes there own nut butters. Some do. I don't. I have never found it as smooth. But if you can, then more power to ya!

Sunday, March 20, 2011

Gluten-free, Corn-free, Soy-free baked Chocolate Donuts

The view from my kitchen sink. Gorgeous.


Busy. Busy. Busy.

Those three words explain my last couple weeks. I've had a few knitting orders to get out, but I thought I'd share a delicious recipe with you all.


I love donuts, but haven't really had one since going gluten free two years ago. Now I know I could fry up a batch, but I really didn't want to add all that fat and those calories into my system. So I decided to create a baked chocolate donut recipe. This donut tastes just like and old fashioned glazed donut. Delicious!


Gluten-free, Corn-free, Soy-free Baked Chocolate Glazed Donut

1/2 C. Millet Flour
1/2 C. Tapioca Starch
1/2 C. Brown Rice Flour
1 C. + 3 Tbs Organic Cocoa Powder
1/2 tsp Baking Soda
1/2 tsp Salt
2 1/2 tsp Corn-free Baking Powder (I use Hain's)
1 1/2 tsp Xanthan Gum
3/4 C. Spectrum Organic Shortening
3/4 C. Brown Sugar
1 C. Sugar
3 Eggs
2 Egg Yolks
2 tsp Vanilla
1 1/2 C. Buttermilk

Glaze:
1/4 C. Cocoa Powder
1 C. Corn-free Powdered Sugar
5 Tbs Milk

1. Preheat the oven to 350 degrees.

2. Spray a Donut Baking Pan with a soy-free non-stick spray.

3. Whisk together the flours, cocoa, soda, baking powder, xanthan, and salt.

4. Cream together the butter and sugars in a mixer. Add the eggs and egg yolks, one at a time.

5. Add vanilla. Mixing on low, alternately add the flours and buttermilk.

6. Using a teaspoon ( the kind that comes in a set, not the exact measurement kind) scoop batter into the donut pan. Smooth out with the back of a spoon. This doesn't have to be exact, it will puff and smooth out when it bakes.

7. Bake for about 18 minutes or until a toothpick inserted comes out clean and is springy to the touch.

8. When you pull them out of the oven allow to cool two minutes, then immediately use a butter knife to remove from the pan. Do not allow to cool. This will make removal nearly impossible. Place on a wire cooling rack. Allow to cool completely.

9. Make glaze by whisking all the ingredients together. Dip each donut in glaze and place back on rack, let glaze set for about 10 minutes. Enjoy.


Monday, February 28, 2011

Blogger Confessions I

You have to LOVE California Orange season!! Fresh and Delicious!

I've seen a lot of blogs lately featuring Blogger Confessions. Love that. So I am going to do that here.


Confessions of a Blogger I

1. I don't eat most of the things I bake. Do you think I can keep losing weight if I ate all this all the time?


2.  I am a competitive Jeopardy watcher. My family DVR's it and watches it in the evening, shouting out the answer (always in the form of a question!), and fast forwarding the commercials.

3.  I am a Flexitarian. This is recent, but has been coming for awhile. It's not so much an animal issue, more that I want to shrink my carbon foot print and only eat clean, humanely raised animals.


4. I am not a big chocolate girl. I know, I know. Blasphemy, heresy, burn me at the stake, but it's true.


5. I love Discovery channel shows, National Geographic shows, and Animal Planet shows. I partially have the TV show tastes of an old man. Or at least that's what my sister tells me.

Okay, that's it. Those are all the secrets your getting from me. For now. :)

Sunday, February 27, 2011

Gluten, soy, corn, nut free Blue Potato Gnocchi


As some of you may know, when you have multiple food allergies they are not sequestered to grains. Many people become allergic to vegetables, fruits, proteins, and seeds. The are many reasons for this, including Leaky Gut Syndrome and more, but either way this is very difficult on those who suffer because they feel even more excluded then those suffering from one or two allergies.


Several weeks ago on Top Chef (looooove that show!), Fabio Viviani (looooooove him!) made Gnocchi. He kept calling them "Pillows of Potatoes". My mouth was watering. I love potatoes. This is something my mom and me share. Unfortunately, she has now "lost" russet potatoes. We have began replacing them with local blue potatoes we found through a produce supplier. They are delicious, but are slightly waxier then russet potatoes. Slightly like red potatoes.
 Plus they carry more antioxidants and poly phenols then regular white potatoes.

So I decided to make Blue Potato Gnocchi. I sauteed them with a couple slices of bacon (cut up), added steamed broccoli, and sprinkled with grated Parmesan.


Blue Potato Gnocchi

1 lb Blue Potato
1 Egg
1/2 tsp Xanthan Gum
2 Tbs Chickpea Flour
2Tbs Potato Starch
Salt to taste

1. Boil the potatoes, until tender.

2. Peel potatoes, then smash with a fork until smooth.

3. Add the rest of the ingredients, and mix until you get a stiff dough.

4. Separate into four parts.

5. Flour a piece of parchment paper with gluten-free flour.

6. Take one piece of the dough, and roll it into a long rope. Cut it into 1 inch pieces

7. Use a fork. Press down gently on one side of each Gnocchi. Making indentations on one side, and flattening the other side slightly.

8. Lay  out on a parchment paper lined cookie sheet and freeze.

When your ready to cook:

1. Cut three pieces of bacon into small pieces, and saute in a pan until the fat is rendered out.

2. Add the frozen Gnocchi, brown on both sides in the bacon fat.

3. Add 1/2 a cup of steamed broccoli florets, saute for a minute. Or at least until heated through.

4. Dish, and grate Parmesan cheese over it. Ah-mazing.

Tuesday, February 22, 2011

Allergy Principles

Hey everyone!


The other day I realized that I have been baking gluten, soy, and corn free now for about 2 1/2 years. Wow. It feels like I just started thins yesterday, but then I started thinking about how much I have learned since the beginning. Then I thought I would share some of this knowledge with you all. I have spoken to several people over the last couple of months who just want to know where to start. Baking this way is so foreign to everyone. We all felt lost, scared, and nervous at the beginning. So here is some information that I wish I had known at the beginning. Hopefully it will act like a guide book through the murky world of gluten, soy, nut, and corn free baking!


1. Yes, it is expensive. Yes, it smells weird. But, yes, you must buy and learn how to use Xanthan and or guar gum. Especially when starting out. Once you get your feet under you, you can begin experimenting with recipes that do not use it, but for now . . . It is a wise investment.

2. Buy a bread maker. If you work, have kids, or are very busy, it can be a life saver. Find one that is new, a quality brand ( like Breadman, Cuisinart, or Kitchenaid) and has a gluten free setting. Also if it has an alarm that dings to tell you when you can take out the paddle, then you will skip having that weird whole in the middle three slices.

3. Good gluten free bread does not take a whole day to make, nor does it take a bread maker. I know, I know. This totally contradicts what I wrote above, but listen. Some people don't have the dough ( no pun intended. Okay maybe a little.) to go out and buy a bread maker right now. Or maybe you are sticken it to the man, and refuse to grovel to the totalitarian kitchen appliance companies. Or maybe you just want bread that you can eat RIGHT NOW! You can do this, I promise. I have tried many recipes for oven baked bread, but my most favorite is The Whole Nutriton Group's Everyday Sandwhich Bread. It takes about 15 minutes to mix up, no stand mixer necessary, rise for 40-60 minutes, and bakes for about 50. The best part? It lasts for day's, and tastes delicious! Especially toasted. When you put it in the toaster it tastes like delicious artisan glutenful bread. Crunchy on the outside, soft on the inside.

4. The packaged Ener-G brand baked goods taste disgusting! And are hard enough to crack your teeth.

5. Buy and become familiar with all the flours available to you.

White rice flour
Brown Rice Flour
Sorghum Flour
Buckwheat Flour
Amaranth Flour
Millet flour
Tapioca starch
Potato Starch
Teff Flour
Garbanzo Bean Flour
Quinoa Flour

6. DO NOT just replace your wheat flour with ONE of the flours above. Wheat flour has an elasticity (gluten) and flavor that gluten free flours just don't have on their own. You have to mix and match the combinations to get it right. Don't worry. I know this seems so daunting right now, but you WILL get the hang of it. Promise.

7. Try some other grains. Rice will get boring real fast. Instead try Quinoa, or Millet as a side dish. My favorite breakfast? 2 fried eggs and a half cup of cooked quinoa. Soooooo good. Trust me. Don't want to cook quinoa everyday? Cook up a bunch then package in individual baggies and freeze. Then just defrost want you want for the day. Check out here for more directions.

8. Think of this as your opportunity to be that whole food eating, healthy person you have always wanted to be. You have this grand chance to drastically change your eating habits in one fell swoop. Think whole fruits, vegetables, whole grains, meat, cheese, eggs, and dairy. Don't just replace your junk food with gluten free options.


9. Blogs are your friend. You can pretty much find all you can want to know, with just a click of your mouse. Plus they are constantly adding new recipes and reviews. One warning though. They do not have your allergies. Always check the ingredients. Many blogs use corn and nuts. So be careful!

10. Find a store. I don't know where you live, so I can't really help, but I do have a few suggestions.

Whole Foods: They have everything. They take everything. Aka they are wicked expensive! Flours are three or four times the price then other places.

A local co-op: A lot of times these stores are so much more economical because they buy in bulk. Also, they don't want to charge you an arm and leg.

Online: many companies offer online stores Arrowhead Mills and Bobs Red Mill are a couple of really good ones.

For those in the Inland Empire Area of Southern California:

Loma Linda Market: a university store that offers GREAT prices on bulk gluten free flours. Not to mention a great selection of gluten free products. I shop here basically every week.

Clark's Nutrition and Natural Foods Market: They have locations in Loma Linda, Ranch Mirage, and Riverside. They have a huge selection of pretty much everything! The prices are a little more then Loma linda market, but still very good. Plus, totally side note, but if you go to the Loma Linda store, look out. The guys that work there are very cute! Did I just say that? Moving on . . . .

So there you go. My top 10. Hopefully this helps you gluten, corn, soy, nut free bakings newbies out there!

Friday, January 28, 2011

Breadsticks, Gluten-free, Soy-free, Corn-free

Well, guess what?

Sickness has struck my house again. Not me this time. My mom and dad both came down with flaming colds.

So last night my mom made a delicious soup with ground beef, carrots, and brown rice noodles. She wanted some sort of bread thing to go with it. Usually she makes cinnamon muffins, but we we were all out of mix so I made . . . Bread sticks.

These are just about the easiest recipe for bread sticks ever. To change the flavor and cuisine of the bread sticks by adding little thing s like:

Italian: Italian seasoning in the dough, sprinkle with Parmesan cheese

Mediterranean: add some chopped sun dried tomatoes and feta cheese

Asian-ish: Sprinkle sesame seeds on top.

We had sick people so I kept it kind of simple.


Gluten-free, Soy-free, Corn-free French Bread Bread sticks

2 C White Rice Flour
1 C Millet Flour
1 C Tapioca Starch
4 tsp Sugar
4 tsp Yeast
4 tsp Xanthan gum
1 tsp Salt
4 Eggs (or 2 Tbsp Flax meal with 1/3 cup of hot water. Let sit for five minutes)
4 Tbsp Olive Oil
1 tsp Apple Cider Vinegar
1 C Warm Milk

1. Combine all the dry ingredients.

2. Add in all wet ingredients. Stir/knead until a ball of dough forms.

3. Preheat the oven to 425 degrees. Cut the dough into 14 pieces.

4. Roll out each piece on a well floured surface. Roll into a bread stick shape. Place on a parchment covered baking sheet. Repeat with rest of dough.

5. Brush sticks with olive oil and sprinkle with salt.

5. Bake for 12-16 minutes


These are best the first day they are baked, as are most gluten free goods. Enjoy!

Now for Favorite Finds Friday.


This week I love  . . . . Ziploc Freezer Bags!
I know, I know, it's technically not a food or product, but here is why I love it so much. I love quinoa, but sometimes don't have time to sit and wait the 20 minutes for it to cook. So what I do is cook up a double batch of quinoa, let it cool completely, then package individual servings in Ziploc baggies. The individual servings will stay in the freezer up to 2 months. All you have to do when you want quinoa is heat it up in the microwave or sit out overnight to defrost. So much easier!

Saturday, January 22, 2011

Favorite Finds Friday: Soy Free Creamer

Hey everyone!

Here we are in our second week of Favorite Finds Friday, and boy do I have a product for you.

I am not a coffee fan. I normally do not drink it. I would much rather have an iced tea, even in cold weather. The only way I would drink it is if it had a ton of Splenda and creamer. A year ago when I changed my habits and went healthy I looked up my favorite creamer and discovered it was basically a conglomeration of oils and artificial flavorings. Yuck. I never wanted to put that back in my body.

My family uses rice milk, but I hate the grittiness at the bottom of the cup. Not to mention it doesn't even taste the same.

Well, during a recent trip to Clark's I discovered this!


So Delicious Coconut Creamer. This stuff tastes amazing! It tastes like Coffee Mate creamer, plus all the ingredients are completely natural. I love it.


Bonus: It only has 10 calories a tablespoon.

I can't wait to try the other soy-free products So Delicious offers.

- Posted using BlogPress from my iPad

Tuesday, January 18, 2011

Gluten-free, Soy-free, Dairy-free, Corn-free Banana Bread

OMG! It is beautiful today. I am probably the only person in the united states enjoying 72 degree weather right now! It is like an Indian summer. Amazing!


This morning I made a delicious goat cheese, broccoli, and mushroom omelet.


Way better than my winter time fav of a half a sunflower seed sandwich.
And yes that's gluten-free bread, and I'm pretty sure it will kick any store bought gluten-free bread's rear. (cough, udi and rudi, cough)


I know that for most of you it is still rainy or snowing, so how about a nice warm gluten-free Banana Bread? I thought you might like that.

For this recipe you will need:


Gluten-free, Soy-free, Dairy-free, Corn-free Banana Bread

2 C Brown Rice Flour
1 1/2 tsp Baking Powder
1/2 tsp Baking Soda
1 tsp Xanthan Gum
1/4 tsp Salt
1/2 tsp Cinnamon
1/4 tsp Nutmeg, fresh grated
2 Eggs, organic preferably
1 1/2 C Mashed Banana, I usually like mine brown then the ones in the picture, but I had to make bread right then.
1 C Sugar
1 tsp Vanilla extract
1/2 C Canola Oil


This is a one bowl recipe, which is awesome!

1. Preheat oven to 350 degrees.

2. Combine flour, baking powder, baking soda, Xanthan gum, salt, cinnamon, and nutmeg.

3. Make a well in the center of the dry ingredients, then add the banana, sugar, oil, and vanilla. Mix the wet ingredients in the well, waiting to incorporate the dry ingredients until mixed thoroughly. Now combine the wet and dry ingredients. At this point you can add any add-ins you want: chocolate chips, walnuts, or even dried cranberries.

4. Pour into a bread pan and bake for 60 min or until a toothpick inserted in the center comes out clean.

5. Let cool then eat.


Beautiful and delicious!

Friday, January 14, 2011

Favorite Find Friday

Zander is winking at you. "How's it going, Hot Stuff?"


Hey everyone!

I'm starting something new this week. I've been cooking (and mostly eating!) healthily, gluten-free, soy-free, and corn-free now for 2 years. In that time, I've come across a lot of AMAZING products that I would love to share with you all. So starting today, I introduce to you . . . Favorite Find Friday!!!!

Each Friday i am going to show you one of my most favorite products, and give you either s recipe or a dish to use it in.


This week my Favorite Find is Burgers by AmyLu Caramelized Onion Chicken Burgers with Red Peppers and Gouda cheese.


These delicious all-natural burgers are free of:
- Gluten
- Soy
- Nitrates
- Preservatives
-Added MSG
- Artificial Ingredients

Here is all the nutritional information.


They are delicious! Plus, they are fully cooked. And only have 150 calories. I like having them for lunch either on a salad or as a chicken sandwich on a piece of White Bread.


Posted using BlogPress from my iPad

Friday, December 24, 2010


I can't believe I've been gone this long. I have a confession to make. I am a sick person.
That's it.

You see I contracted a virus when I was 14 that has weakened my immune system permanently. Now I catch pretty much every single virus and infection that comes around. I try to limit my public "exposure" to sicknesses, but . . . Well you know. Crap happens. I can't control where my entire family goes and I can't control what they carry back to me.

So hopefully that explains my absence. I was sick with a bad virus for about two weeks, then felt a little better for about a week, now I have a flaming sinus infection.

So to help with my sick/blogging capabilities I (along with my parents help!) have saved up and bought myself an IPAD!


This is not a christmas present. Nor is it a Hanukah gift. It is simply a "Holy Crap! I have enough, and free overnight shipping! Ahhhhhh!"

Now I can blog from the comfort of the couch, or bed, or anywhere else for that matter. I love it.

As far as baking goes . . . Well let's just say that freezer I stocked has been saving my keister. Usually I can bake while I'm sick, but this one has just knocked me out completely. Hopefully in the next couple of days I'll be able to make a couple more batches of Teff and Brown Rice Oreos. Oh yeah. I haven't told you about those yet. Well maybe that's something else you can look forward to this week. :)

In the meantime, I've been living on deli meat, Sunflower Seed Butter, and these gluten and corn free Asian noodles.


I found these at my local health food store. They come in flavors like Garlic & Onion, Thai Ginger, and Vegetable. But my favorite is the Bangkok Curry. It makes my nose run, which is always good when your sick. Plus it only has 170 calories. I usually add some chicken and broccoli florets to round out the meal. Sooo good!


Ready in 3 minutes. Steam cooked not fried.


I also found these delicious snacks. They are:
gluten-free
cholesterol-free
dairy-free
vegan
Wheat-free
Preservative-free
Soy-free


And only 156 calories for 6 pieces.

Ingredients: almonds, Rice Malt, Evaporated Cane Juice, Sea Salt

Simple and good.


They come in flavors like Almond Crunch, Pom-raspberry Crunch, Cran-blueberry Crunch, Black Sesame Crunch, and many more.


- Posted using BlogPress from my iPad

Sunday, December 12, 2010

Update!

BTW this is my puppy Zander. Soooo adorable.
Hey everyone!!!

I don't have a lot of time tonight, but I wanted to update you all on my progress.


I lost 2 lbs!!! Oh yeah!

Have you seen "Despicable me"?

If you have, imagine Vector saying the above.

If you haven't seen it. Go rent it!!

Right now!

I'll wait.

Are you still there? No. . . okay.

Bye!

Monday, December 06, 2010

Gluten free, Corn free, Soy free, Bohemian Wedding Cake


God, I love Iced Tea

I promised a while ago that I would tell you all more about my weight loss and my fitness and diet.

So, guess what?

I have recently unlocked the key to my continued weight loss. But first, how about a little family history?

Good. My birth father's family is very heavy. Pretty much every single last one of them. About half of them have or have died from diabetes. My mother was always worried I would develop diabetes, especially since I was a fat kid.

About 4 months ago my weight started plateauing. So I started trimming back my calories. 1,200, 1,100. 1000. Nothing. Then I got sick for a week, and even though I kept my calorie intake the same, I gained weight. I was shocked. I went to my mom, to get some sage advice. She reminded me about my families diabetes. She said what I had been doing (calorie counting) had worked up until this point, but now I needed to try something different.

So we decided I would eat like a diabetic for a couple weeks and see what happens. So I a going to chronicle my progress here for you all to see.

So here are my dietary rules:

1. No gluten. (Duh!)
2. Low Diary
3. Carbs only eaten with protein
4. Lean Protein
5. Eat every two hours


My snack. I ate while I read my Google Reader. :)


Results for week 1:

I followed all my rules.
And . . . drum roll please . . . I lost 5.5 lbs.

Boo yah!!!

Since you can't see me, I'll just tell you. I'm doing a happy dance.

It's a total reversal of how I used to eat, so it's a big adjustment.
But for now . . . I'm kinda diggin it. :)

I've recently started following several diet and fitness  blogs. I love how they write and the personality of their posts! Some of my favorites are:


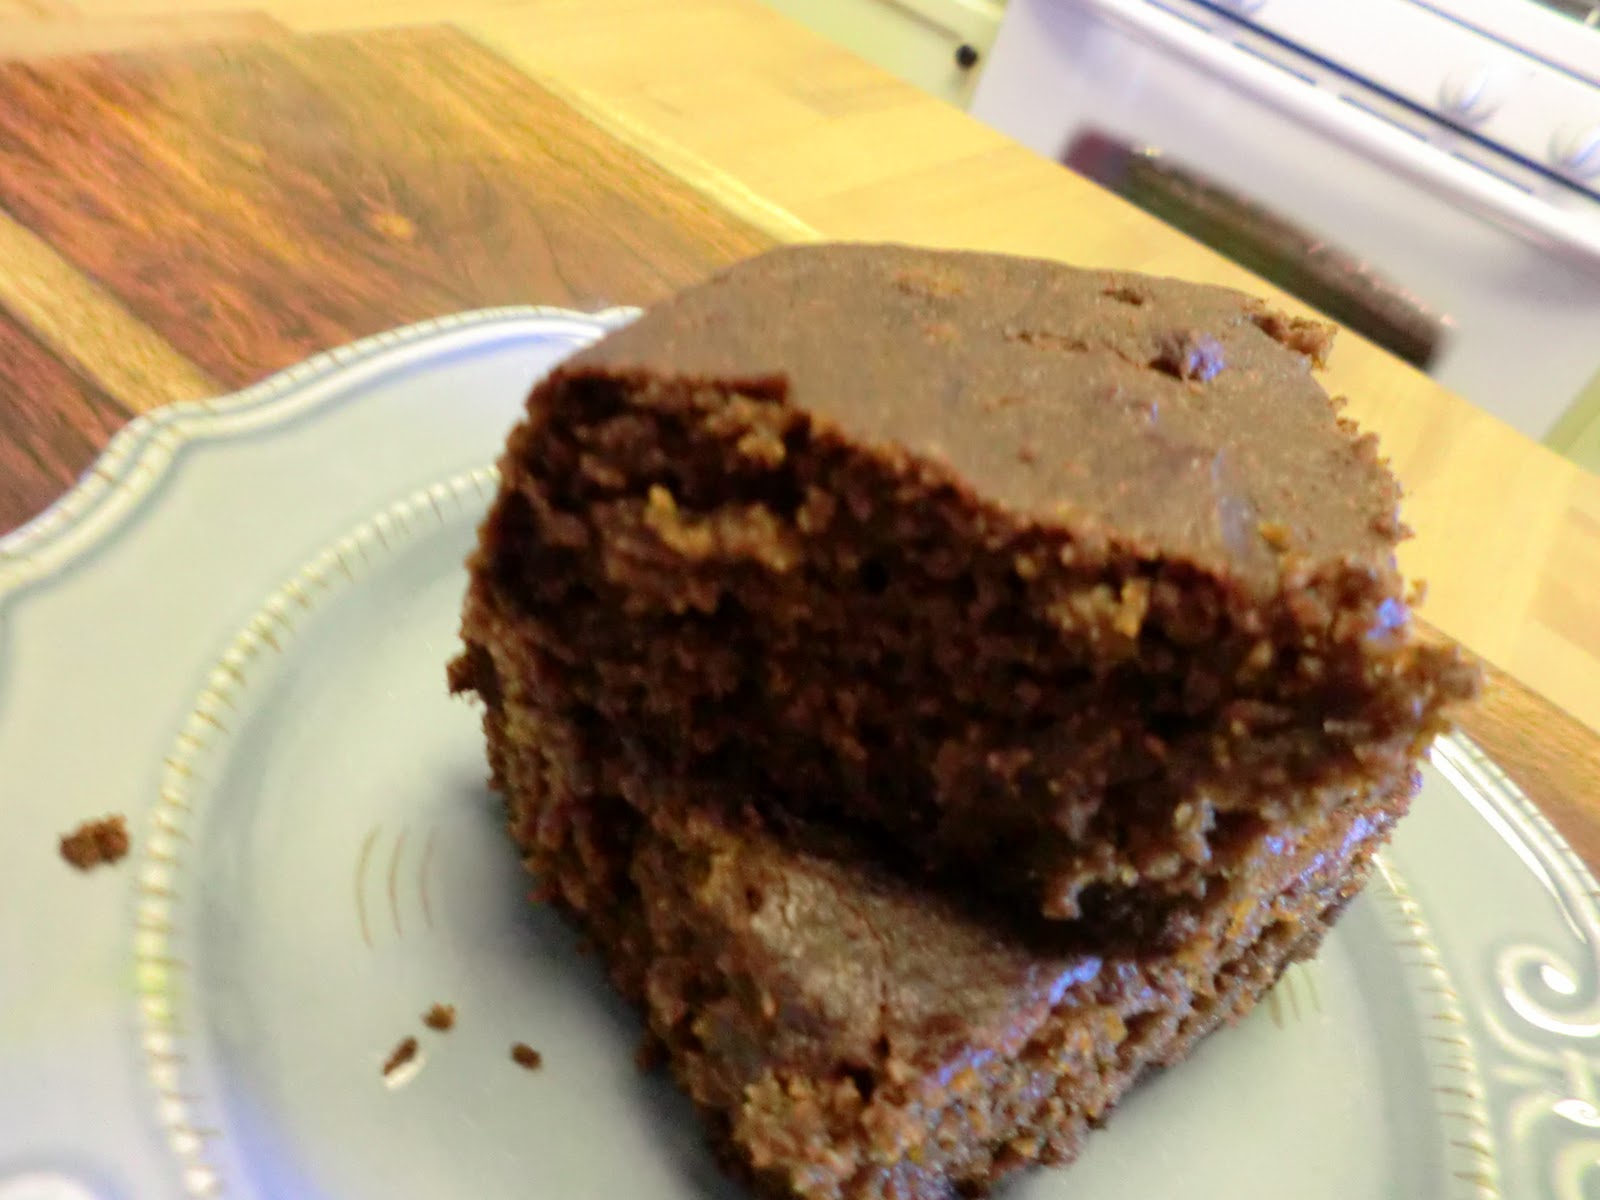
On a recent post on a Eat, Live, Run I found an amazing recipe for Bohemian wedding cake. Of course this recipe was gluten-ful so I had to adapt it for a gluten, corn, and nut free audience. What resulted is a delicious, nutritious, carrot cake replacer. I am seriously considering using this as my wedding cake. It is that good. And before you ask, yes I am a bohemian. :)


Gluten-free, Soy-free, Corn-free
Bohemian Wedding Cake
Makes 1 9-inch round or square cake
Adapted from Jenna at Eat, Live, Run's recipe

1 C. Buckwheat Flour (Certified Gluten-free)
1 C. Brown Rice Flour
1 tsp Xanthan Gum
1/2 tsp Salt
1 tps Nutmeg
1 tsp Ground Cloves
1 1/2 tsp Baking Soda
1 C. Packed Brown Sugar
1 15-ounce can Pumpkin
1 C. Canola Oil
2 Eggs
1 tsp Vanilla Extract
1/4 C. Blackstrap Molasses
1/2 C. chopped Walnuts


1. Preheat your oven to 350 F.

2. Combine the flours, xanthan gum, baking soda, salt, nutmeg, and cloves.

3. In another bowl combine brown sugar, pumpkin, oil, eggs, vanilla, and molasses.

4. Combine the dry and wet ingredients.

5. At this point you can add the walnuts. I wanted this to be a nut free recipe so I didn't.

6. Pour into a parchment lined baking pan. Bake for 45-50 minutes or until a toothpick comes out clean.

7. Let cool completely and lift out with parchment. At this point you can frost this with a cream cheese or buttercream frosting. I personally like it either plain or with a cream cheese frosting.


Check this and other recipes out @ Gluten Free Wednesdays and Slightly Indulgent Tuesday.
Keep the Integrity of the Bean, 2009-present. Unauthorized use of this material without permission is strictly prohibited. Links may be used, provided that credit is given to "Keep the Integrity of the Bean" with appropriate direction to the original content.